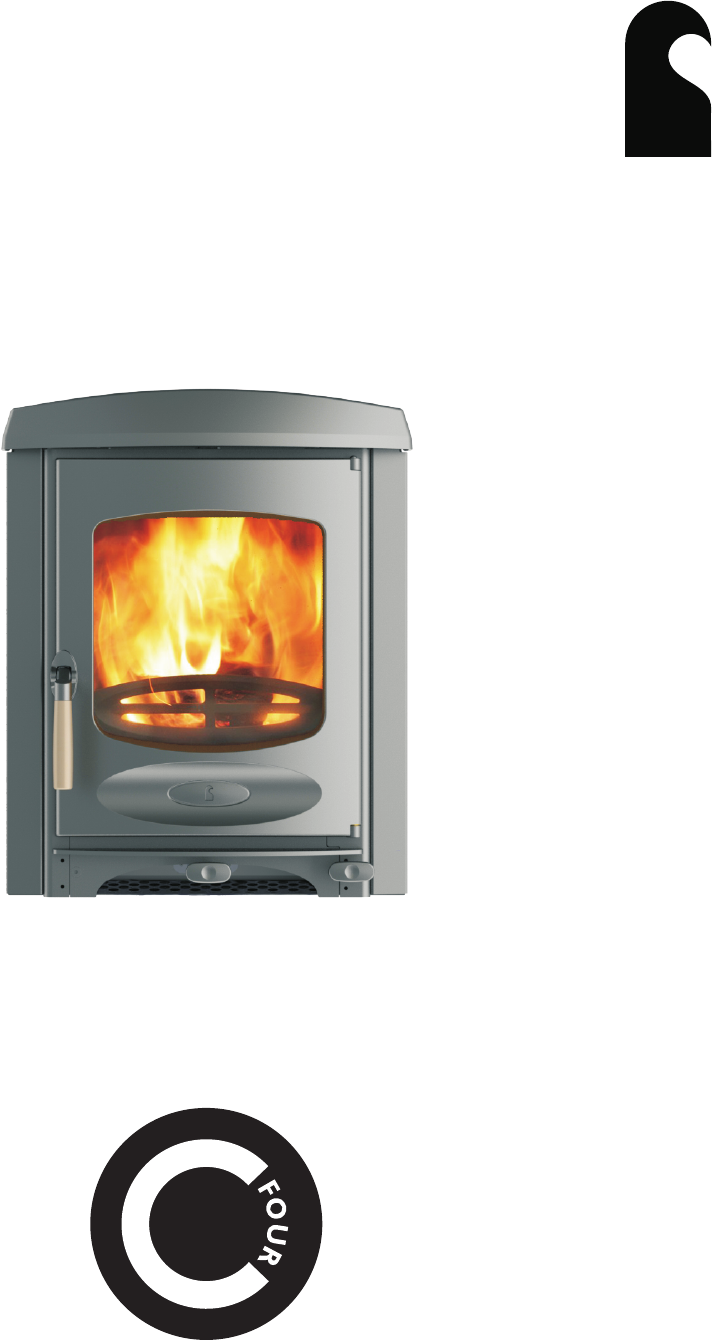
Charnwood C4 Operations Instructions
Browse online or download Operations Instructions for Cookers Charnwood C4. Charnwood C4 Operating instructions User Manual
- Page / 22
- Table of contents
- TROUBLESHOOTING
- BOOKMARKS
- C O N T E N T S 3
- Air control 4
- OPERATING INSTRUCTIONS 5
- Fig. 6 Adding larger logs 7
- Fig. 7 Fire well underway 7
- Brick Throat Plate 9
- Throat Plate Position 9
- TROUBLESHOOTING 10
- INSTALLATION INSTRUCTIONS 11
- INSTALLATION INSTRUCTIONS 12
- C FOUR I DIMENSIONS (mm) 18
- PARTS LIST 19
- EN13229:2001/A2:2004/AC:2007 21
Summary of Contents
Operating & Installation Instructions charnwood® Insert
®TROUBLESHOOTING10FIRE WILL NOT BURNCheck that: a) the air inlet is not obstructed in any way, b) chimneys and flueways are clear, c) a suitable fuel
11® INSTALLATION INSTRUCTIONSHEALTH AND SAFETY PRECAUTIONSPlease take care when installing the stove that the requirements of the Health and Safety a
12® INSTALLATION INSTRUCTIONSBAC500mm600mmThe shaded grey area on the face of the surround is the minimum flat area required for inset installation.Di
® INSTALLATION INSTRUCTIONS13Warm airOptional air ducts can carry heat to other roomsRear outlet of stoveFlexible tube ø80mm Air supplyFlueAir supply
® INSTALLATION INSTRUCTIONSFITTING THE CONVECTION CASING, FLUE PIPE AND STOVEHaving prepared the fireplace as described, the convection case, stove an
® INSTALLATION INSTRUCTIONS4. SECURE THE CASING TO THE HEARTHSecure the stove by inserting screws through the holes in the base (see diagram).5. FILL
9. ATTACH TOP CAPSlide the cast top cap (a) into position. Finally, with the door open, insert hex head screw (b) from the underside of the top shelf.
17® INSTALLATION INSTRUCTIONSPRE LIGHTING CHECKBefore initial lighting check the following points:1. The bottom grate bars must all be fitted and shou
® C FOUR I DIMENSIONS (mm)18485595380ø155(for 6" flue)40055511555075200FRONT VIEWBACK VIEWSIDE VIEWPLAN VIEW310ø77265595
®charnwoodT : + 4 4 ( 0 ) 1 9 8 3 5 3 7 7 9 9 • F : + 4 4 ( 0 ) 1 9 8 3 5 3 7 7 8 8 • W W W . C H A R N W O O D . C O MBISHOPS WAY, NE
20A Division of A.J.Wells & Sons Limited Registered in England No. 03809371 14Bishops Way, Newport, Isle of Wight PO30 5WS, United KingdomA.J
A D i v i s i o n o f A . J . W e l l s & S o n s L i m i t e d R e g i s t e r e d i n E n g l a n d N o . 0 3 8 0 9 3 7 1 charnwood
C O N T E N T SO P E R AT I N G I N S T RUCTIONSQuick Guide 4GeneralINSTALLATION INSTRUCTIONSHealth and Safety Precautions 11Air Supply 11CO Alarms
®QUICK GUIDEAdd kindling and paper or firelighters. Keep air control fully out and close doorOnce kindling is alight, add small logs. Keep air control
®OPERATING INSTRUCTIONS5should be cut and split and then left to season in a well ventilated dry place for at least one year but preferably two years
®OPERATING INSTRUCTIONS6OPERATING INSTRUCTIONSMULTIFUEL GRATEYour Charnwood stove is fitted with a multifuel grate which enables both solid fuels an
®OPERATING INSTRUCTIONS7LIGHTINGOn initial lighting, the stove may smoke and give off an odour as the silicon paint with which the firebox is painted
8®OPERATING INSTRUCTIONSREFUELLINGKeep the firebox well filled but do not allow fuel to spill over the top of the fuel retainer.Logs should be evenly
9®OPERATING INSTRUCTIONSSERVICINGIt is recommended thIt is important that the throat plate and all the stove flueways are kept clean in order to prev
More documents for Cookers Charnwood C4


Related products and manuals for Cookers Charnwood C4
 (9 pages)
(16 pages)
(24 pages)
(9 pages)
(16 pages)
(24 pages)
© 2020, manymanuals.com. All rights reserved. | 1.489 s |
 Manymanuals.com
 Manymanuals.de
 Manymanuals.fr
 Manymanuals.it
 Manymanuals.pl
 Manymanuals.cz
 Manymanuals.es
 Manymanuals-pt.com
Comments to this Manuals